Please don't tear my head off if there's bad spelling or grammar.
But feel free to point it out.
First I lay out some papers to create a white background which will ease the work in photoshop later on.
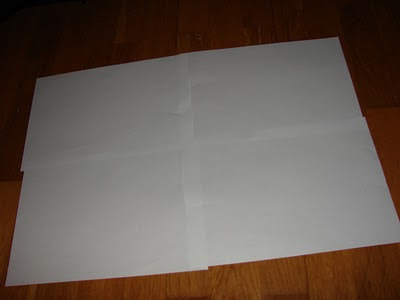
I put the painting on the papers and take pictures from an angle I like.

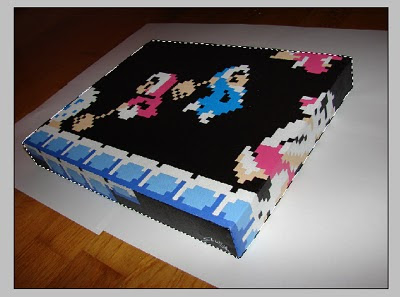
Open up the picture in photoshop, where I use the polygonal lasso tool to crop the desired part. I zoom in very close so I can be more precise.

I press ctrl+c to copy the whole marked area.
Then I press ctrl+n for a new project. I add some working space to the size of the new project.
I use the paintbucket tool to get a nice white background before I paste the copied image to this new project.

I get back to the original photo and fill the previously marked area with black or just a couple of shades above black. This because I am going to use it as a shadow beneath the painting. This way tha shadow correlates perfectly to the painting.
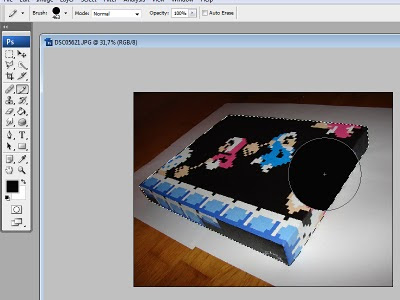
I then copy and paste this into the new project.
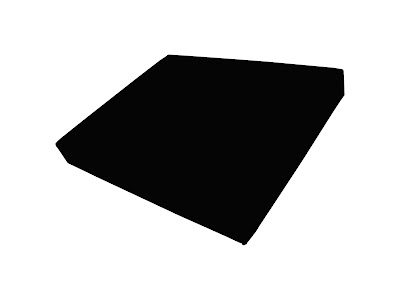
Since I'm not going to use the whole black piece as shadow I cut off the area outside the bottom corners.
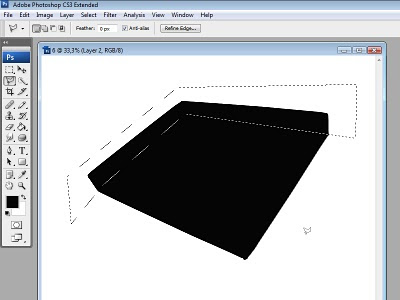
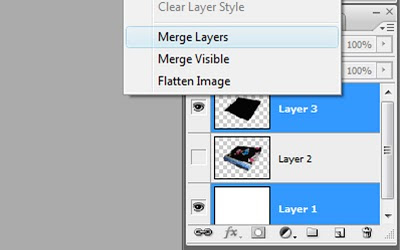
After that I merge the white background layer with the layer that will become the shadow.
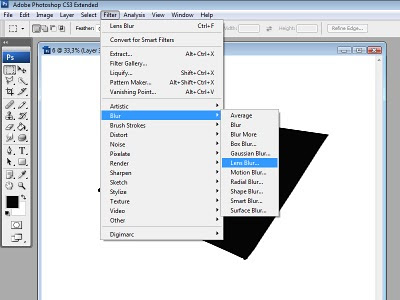
I mark this new background/shadow layer and use a filter called lens blur to achieve some blurryness to the shadow.
The only thing left is to put the painting layer above the shadow layer and move the painting to a suiting position so it will look like it hovers
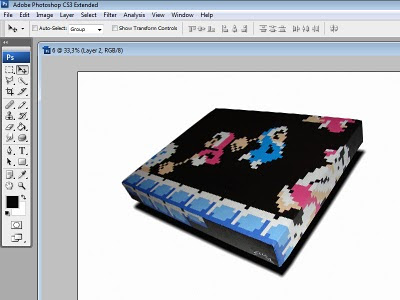
The only thing left is to merge the layers with each other and then crop the picture the way you like it.
Feel free to post questions.


2 kommentarer:
Awesome!
-ShampooTeacher
Thanks!
Skicka en kommentar